
Local Docker
Run ByteChef locally with Docker for development
This guide covers running ByteChef locally using Docker. There are three approaches depending on your needs.
Run ByteChef locally
Docker Compose is the usual choice. The single-container path drops the database entirely and is the quickest way to try ByteChef out; the manual path is for environments where Compose is unavailable.
The fastest way to run ByteChef locally. This starts both PostgreSQL and ByteChef in a single command.
Requirement: Docker Desktop
curl -O https://raw.githubusercontent.com/bytechefhq/bytechef/master/docker-compose.yml
docker compose -f docker-compose.yml up
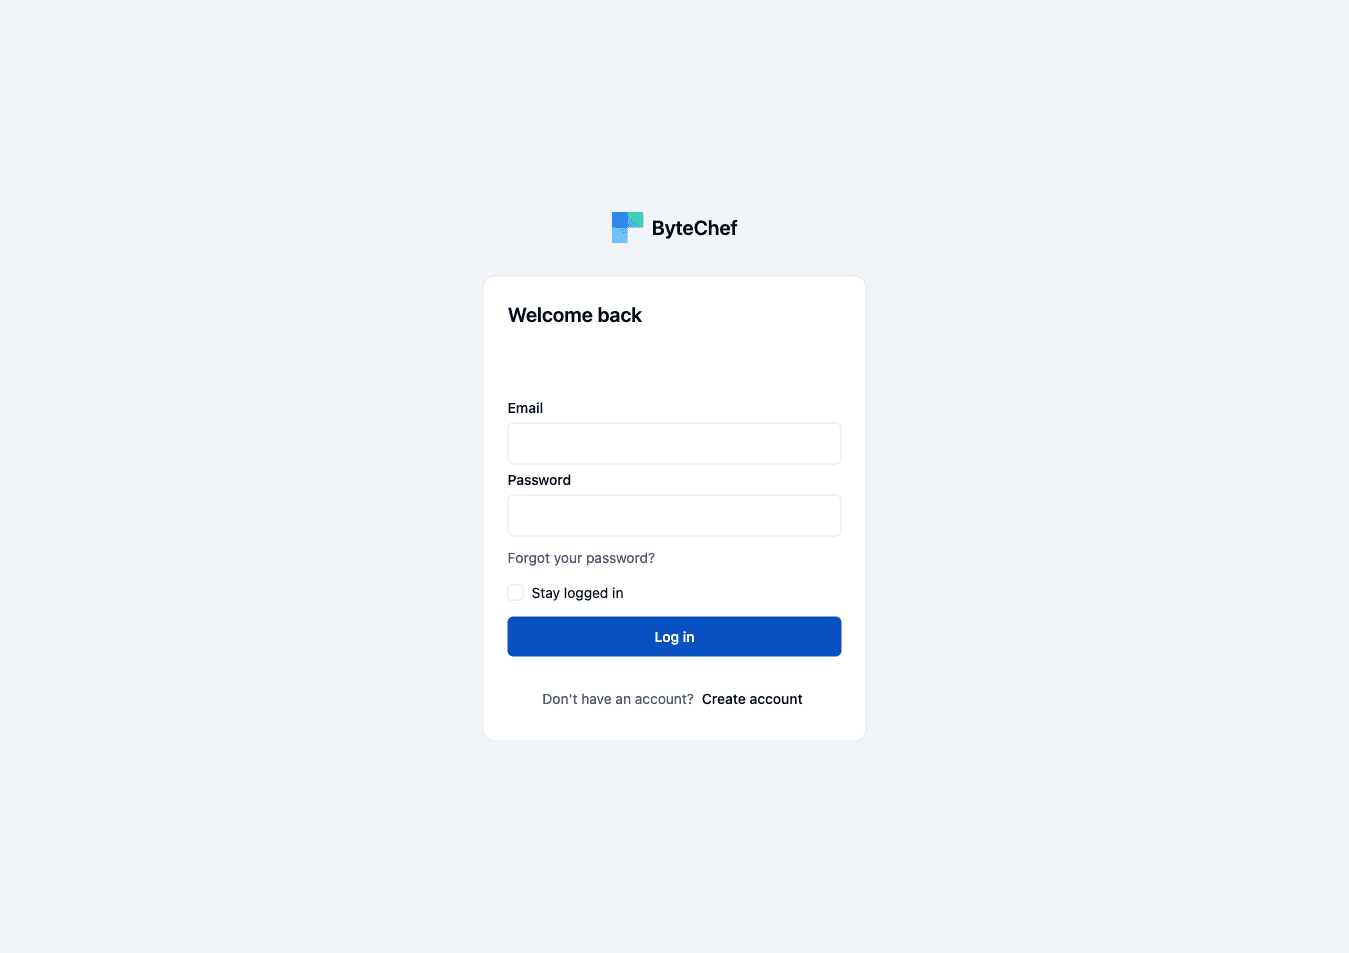
Once running, open http://localhost:8080/login and click Create account to register the first user and get started.
The Compose file keeps PostgreSQL's data in a named volume, storage_db. Everything you build -
workflows, connections, and execution history - lives there, so docker compose down -v (note the
-v) deletes all of it. Plain docker compose down stops the containers and leaves the volume
intact.
ByteChef encrypts stored connection credentials with an instance-wide key. Under the default
filesystem provider that key is generated on first start and written to ~/.bytechef/key, so the
Compose file mounts your ~/.bytechef directory into the container. Keeping the key on the host
rather than inside the container has three consequences: it survives recreating the container,
docker compose down -v does not touch it, and a server you run outside Docker uses the very same
key - the same connections stay readable either way.
That same directory holds anything else ByteChef keeps on the host, so running on H2 puts the database file there too - see the Single container (H2) tab. The path is identical whether ByteChef runs in Docker or directly on your machine, because it resolves against the home directory of the user the server runs as.
Back the key up alongside the database. A database restored without its key is a database of undecryptable credentials.
An instance created before this mount existed kept its key inside the container, where it is lost
the first time that container is recreated. Connections stored under it cannot be recovered -
re-create them once, after which the key persists in ~/.bytechef.
For a multi-replica deployment, or any host where you would rather hold the key in a secret manager,
set BYTECHEF_ENCRYPTION_PROVIDER=property with your own BYTECHEF_ENCRYPTION_PROPERTY_KEY
instead. See Configuration.
To point ByteChef at a PostgreSQL server you run yourself instead, override the datasource settings
on the bytechef service:
services:
  bytechef:
    environment:
      BYTECHEF_DATASOURCE_URL: jdbc:postgresql://your-host:5432/bytechef
      BYTECHEF_DATASOURCE_USERNAME: postgres
      BYTECHEF_DATASOURCE_PASSWORD: your_password
To drop the database server altogether, run ByteChef on H2 with a Compose file holding a single
service. The ~/.bytechef mount carries both the encryption key and the H2 database, so there is no
named volume to manage:
services:
  bytechef:
    container_name: bytechef
    image: docker.bytechef.io/bytechef/bytechef:latest
    environment:
      - BYTECHEF_DATABASE=h2
    volumes:
      - ~/.bytechef:/root/.bytechef
    ports:
      - "8080:8080"
H2 is for evaluation only - see the Single container (H2) tab for what it does and does not support.
Development setup with Docker
This approach is intended for contributors who want to work on the client codebase while running the server in Docker.
The docker-compose.dev.server.yml file starts the full development stack including PostgreSQL, pgvector, Redis, Mailpit, and the ByteChef server built from source.
Prerequisites
- Docker Desktop
- A local clone of the ByteChef repository
Steps
From the project root, run:
docker compose -f server/docker-compose.dev.server.yml down --rmi local
docker compose -f server/docker-compose.dev.server.yml up -d
The first command removes any previously built local images to ensure a clean build. The second command builds and starts all services.
Services Started
| Service | Port(s) | Description |
|---|---|---|
| postgres | 5432 | Main PostgreSQL database |
| pgvector | 5433 | PostgreSQL with pgvector extension |
| redis | 6379 | Redis for message brokering |
| mailpit | 1025, 8025 | Local mail server for testing |
| server-app | 9555 | ByteChef server application |
The server API is available at http://localhost:9555 and the Scalar API reference at http://localhost:9555/scalar.
Connecting the Client
Once the server is running, start the client from the client/ directory:
npm install
npm run dev
The client connects to the backend at http://127.0.0.1:9555 by default.
Initial Login Credentials
| Username | Password |
|---|---|
| admin@localhost.com | admin |
| user@localhost.com | user |
Troubleshooting
Port conflicts
The development stack uses ports 5432, 5433, 6379, 1025, 8025, and 9555. If any of these are in use, stop the conflicting service or update the port mapping in docker-compose.dev.server.yml.
To check which ports are in use:
sudo lsof -i -P -n | grep LISTENOut of date database schema
If you see Either revert the changes to the migration, or run repair to update the schema history on startup, reset the database volumes:
docker compose -f server/docker-compose.dev.server.yml down -v-v removes the database volume, so this discards every workflow, connection, and execution record
in that stack. It is the right move on a development database and the wrong one anywhere else.
Resetting an H2 database
docker compose down -v removes named volumes, and an H2 database is not one - it is a file in the
bind-mounted ~/.bytechef directory, so it survives. Stop the container and delete the file:
rm ~/.bytechef/bytechef.mv.dbLeave ~/.bytechef/key in place unless you also want to discard the stored connection credentials,
which cannot be decrypted without it.
How is this guide?
Last updated on