
Automations
Author and publish the workflow templates that back the automations you ship to connected users.
Coming soon
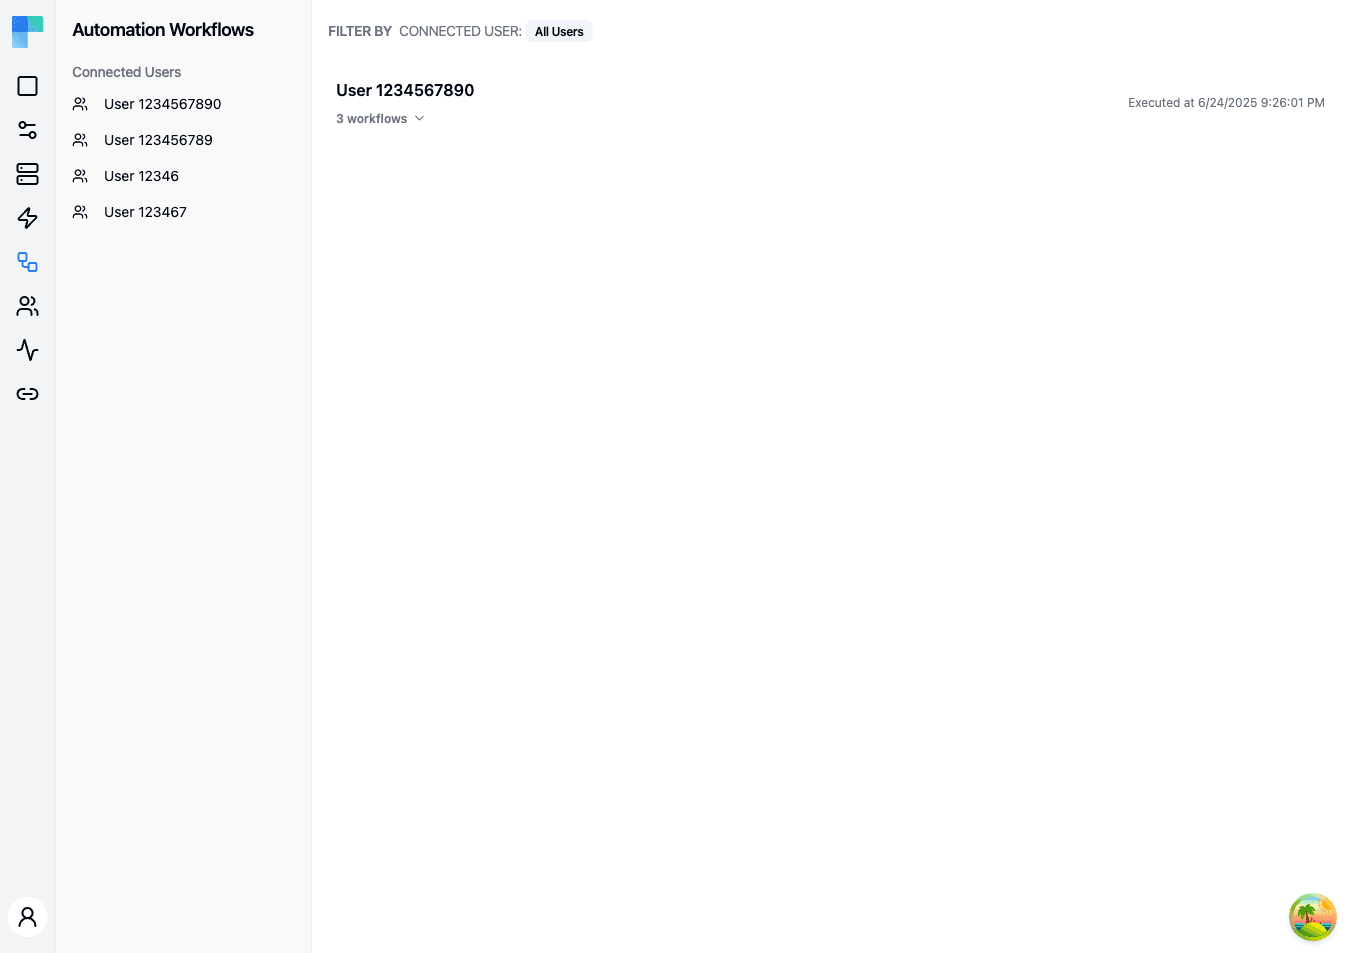
Feature flag. Automations are behind a deployment feature flag. The Automations entry appears in the Embedded sidebar only where that flag is enabled; without it the pages below are not linked from the UI.
The Automations page is the authoring surface for your workflow templates. Templates are grouped under Projects, organized by Category and Tag, and made available to end users by publishing the project.
Conceptually:
- A project is a logical bundle of related templates (for example, "HubSpot sync" or "Slack notifications").
- A workflow template is a workflow definition you author once in your workspace. It is not tied to any specific connected user - it's a reusable blueprint.
Runtime activity for end users lives in Workflow Executions; this page is strictly about authoring.
Key Features
| Feature | Description |
|---|---|
| Project CRUD | Create, edit, and delete projects from a single list. |
| Template CRUD | Create a workflow template from scratch or import one from a .json/.yaml/.yml file. |
| Publish | Cut a new project version so its templates become available to connected users. |
| Tags & Categories | Group projects by category (single) and tag (many) for filtering. |
| Category / Tag filter sidebar | Narrow the list with two stacked navs - Categories and Tags - in the left sidebar. |
| Inline template list | Expand any project row to see its templates, their trigger, the components they use, and the last modified date. |
| Environment scoping | The page reflects projects in the currently selected environment (Development / Staging / Production). |
Project row
Each project row displays:
- Name -- clicking it opens the project's first template in the editor (or expands the template list if the project has none yet).
- Template count -- a collapsible trigger; click to expand the template list.
- Create-template button group -- a primary "Workflow" button (new from scratch) with a chevron menu containing Import Workflow.
- Tags -- inline editable; add or remove tags directly from the row.
- Status badge --
DRAFTwhile unpublished,V<n> PUBLISHEDonce a version has been cut. - Actions menu (⋮) -- Publish, New Workflow, Import Workflow, Edit, Delete.
Template row
Inside an expanded project, each template row shows:
- Label (or workflow UUID as fallback).
- Trigger -- the first trigger's icon plus a badge with its title.
- Components -- icons of the components the template uses.
- Last modified date.
- Actions menu (⋮) -- Delete.
Clicking a template row opens it in the embedded workflow editor.
How to Use
Creating a project
- Click New Project in the page header (top right).
- In the dialog, enter a Name, optional Description, an optional Category, and any Tags.
- Submit. The new project appears in the list as a
DRAFT.
If no projects exist yet, the empty state shows a Create Project button that opens the same dialog.
Adding templates
From any project row you can:
- Click + Workflow to open the new-template dialog. Provide a label and description; the template is created with empty
inputs,tasks, andtriggers, then opened in the editor. - Click the chevron next to + Workflow and pick Import Workflow to upload a
.json,.yaml, or.ymlfile. The file's contents become the template definition and the template opens in the editor. - Use the project's ⋮ menu for the same two actions plus Edit and Delete.
Editing or deleting a project
Open the project's ⋮ menu and pick Edit (reopens the project dialog with current values) or Delete (confirms via dialog, then removes the project and its templates).
Publishing
Open the project's ⋮ menu and pick Publish. The badge updates from DRAFT to V<n> PUBLISHED and that version becomes the release available to connected users.
Filtering
The left sidebar exposes two stacked filters:
- Categories -- a single-select list; the default entry is All Categories.
- Tags -- a single-select list of every tag in use; empty state shows "No defined tags."
Selecting an entry sets ?categoryId= or ?tagId= in the URL so the view is shareable and back-button friendly.
Environment selection
Projects are scoped to the current environment. Switch environments from the selector in the left sidebar (next to the user menu) to see projects in Development, Staging, or Production.
How is this guide?
Last updated on