
Star Repository on GitHub
Learn how to connect your GitHub account to ByteChef and star a repository.
In this guide you will connect your GitHub account to ByteChef and automate starring a repository. You will create a project, add a workflow to it, configure the GitHub Star Repository action, and run it.
Step 3 asks for a GitHub Client ID and Client Secret. If you do not have them yet, create an OAuth app first - see Connect your GitHub account at the end of this guide.
Create a project
A project is the container that holds your workflows.
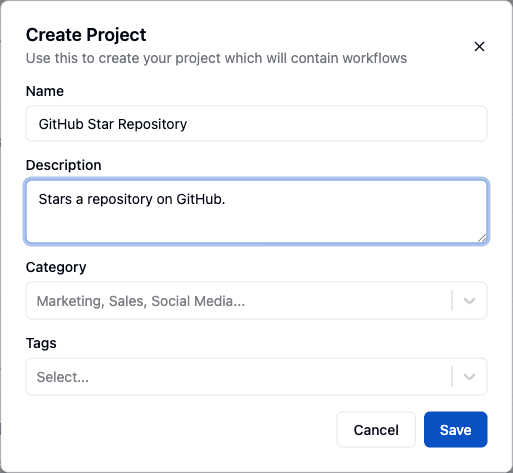
Open the Projects page and click Create Project - the button reads New Project once you already have projects.
Enter a project name. Optionally add a description, choose a category, and add tags. Then click Save.
Create a workflow
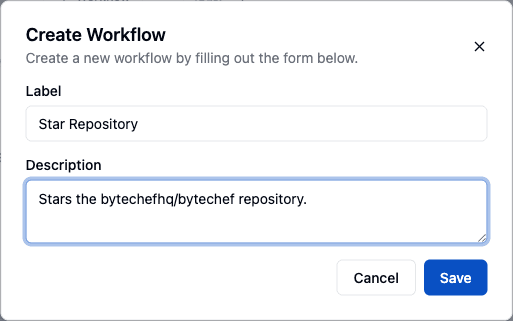
On your new project's row, click + Workflow.
The chevron next to + Workflow opens additional creation options, such as importing an existing workflow definition.
Enter a label for the workflow and an optional description, then click Save. ByteChef opens the new workflow in the editor.
Add the GitHub component
In the workflow editor, click the + button to add a component.
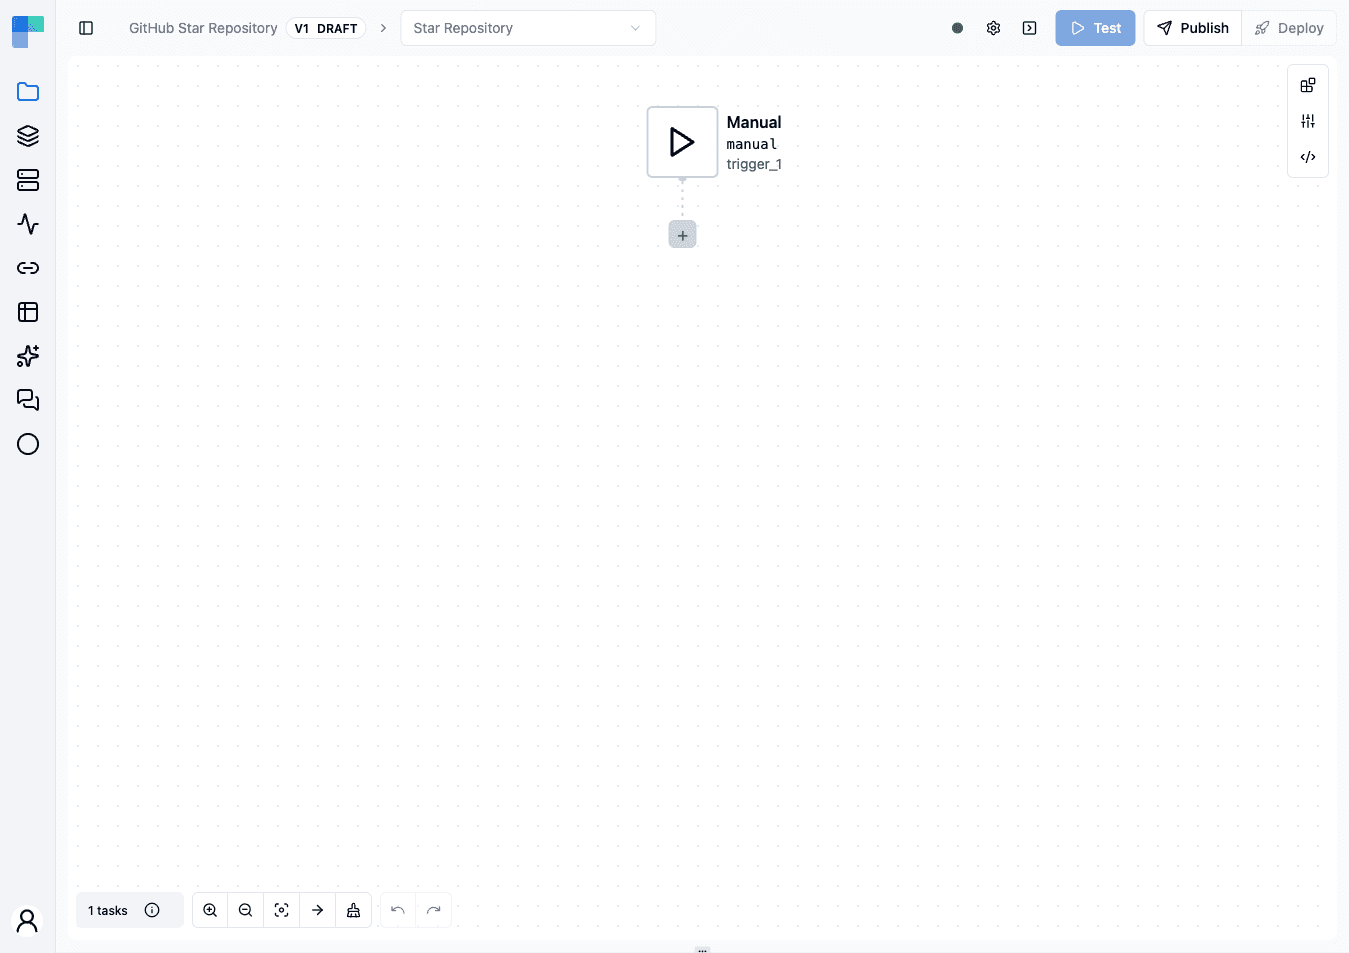
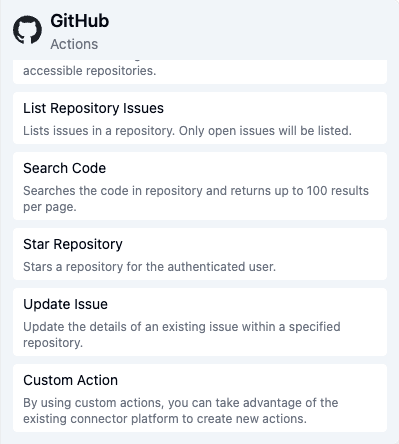
Search for and select the GitHub component, then choose the Star Repository action.
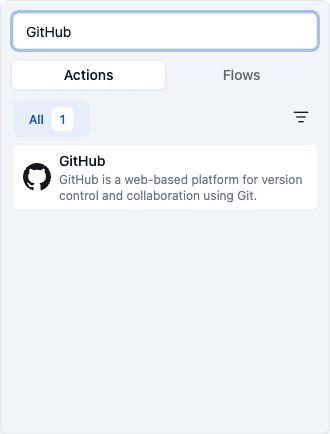
With GitHub selected, its actions are listed on the right.
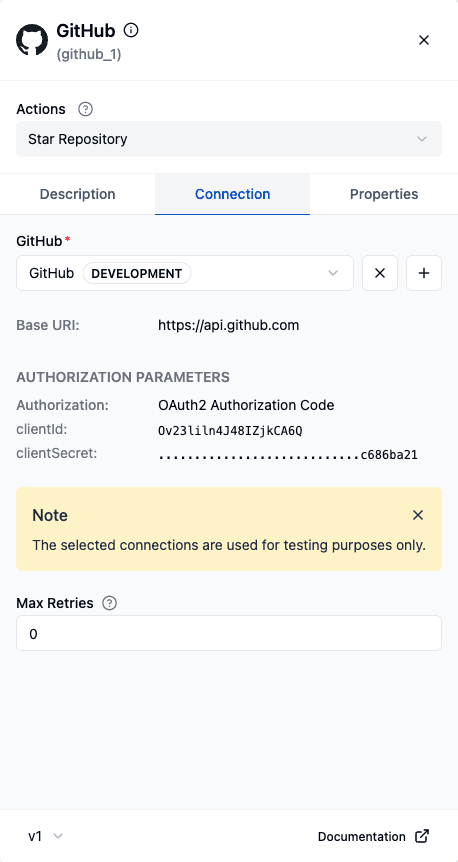
Open the Connection tab and click Create Connection.
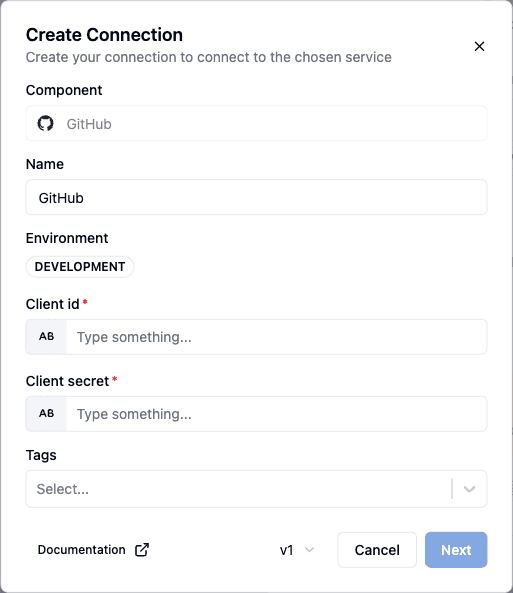
Enter a connection name, paste the Client ID and Client Secret from your GitHub OAuth app, and click Next. Then click Connect and authorize ByteChef in the GitHub window that opens.
Back in the Connection tab, click Choose Connection and select the connection you just created.
Switch to the Properties tab and fill in the repository you want to star:
- User/Organization - the account that owns the repository, for example
bytechefhq - Repository - the repository name, for example
bytechef
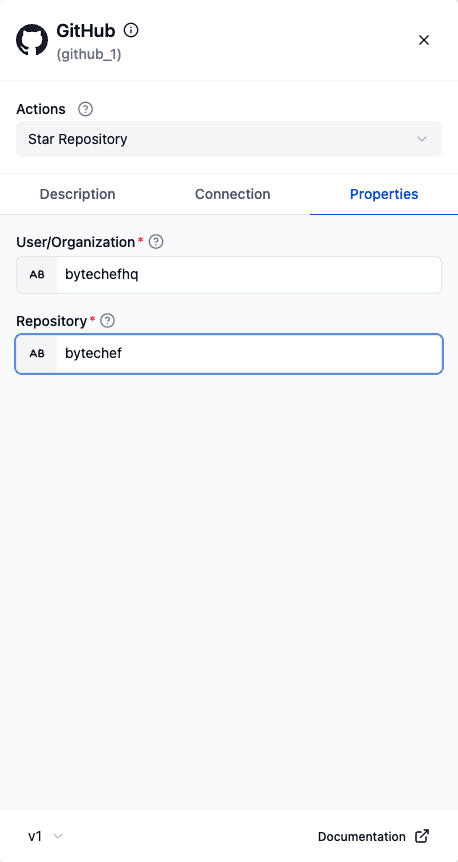
Test the workflow
Click Test to run the workflow. ByteChef executes the Star Repository action against the repository you configured.
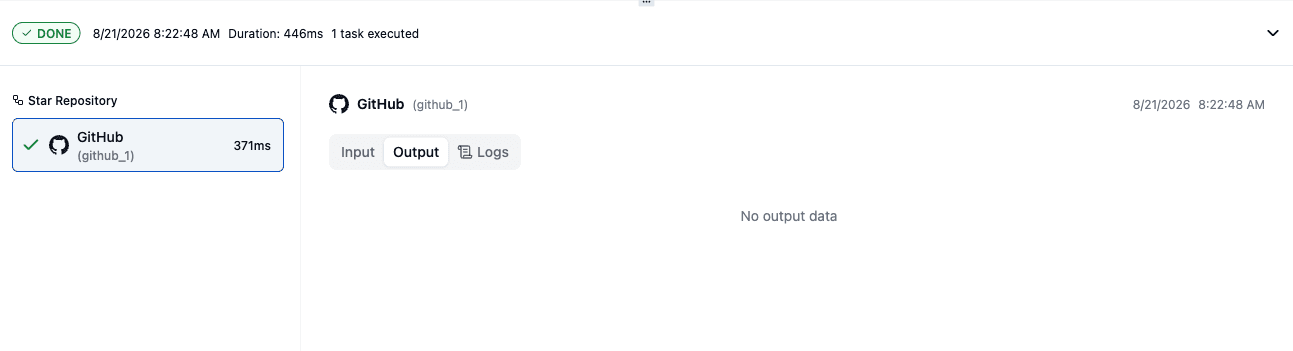
The Output tab reads No output data, which is expected - GitHub's star endpoint returns an
empty 204 No Content response. The green DONE badge and the task's green check are what tell
you the call succeeded.
Verify the result by opening the Stars tab on your GitHub profile - the repository you configured now appears there.
Connect your GitHub account
The GitHub connection in step 3 authenticates through an OAuth app that you own. Create one as follows.
Sign in to GitHub, click your profile icon in the top-right corner, and select Settings.
In the left sidebar, click Developer settings, then OAuth Apps, then New OAuth App.
Fill in the application details:
| Field | Value |
|---|---|
| Application name | A name for your app, for example Test App |
| Homepage URL | Your application's homepage, for example https://www.bytechef.io/ |
| Authorization callback URL | Where GitHub returns users after authorization, for example http://127.0.0.1:5173/callback |
Then click Register application.
Click Generate a new client secret, then copy both the Client ID and the Client Secret - you will paste them into ByteChef in step 3.
GitHub shows the client secret only once. Copy it before leaving the page.
How is this guide?
Last updated on