Google Application Setup
Steps for setting up Google Cloud API Console for every Google component.
Connection Setup
Create OAuth 2.0 Application
- Go to the Google Cloud Console.
- Click on the project dropdown in the top navigation bar.
- Click New Project.
- Enter a project name and click Create.
- Click on the project dropdown again.
- Select the project you just created.
- Go to the APIs & Services.
- Go to the OAuth consent screen.
- Click Get Started.
- Enter an App name and add user support email. Click Next.
- Select your Audience and click Next.
- Add email addresses and click Next.
- Agree to the terms and click Create.
- Go to Data Access.
- Click on Add or Remove Scopes.
- Select all necessary scopes.
- Click Update.
- Click Save.
- Go to the Clients.
- Click on Create Client.
- Click on application type dropdown.
- Choose Web application as the application type.
- Click on Add Uri.
- Enter a redirect URI, e.g.,
https://app.bytechef.io/callback,http://127.0.0.1:5173/callback. Click Create. - Click on the client you just created.
- Copy the Client ID and Client Secret. Use these credentials to create a connection in ByteChef.
Troubleshooting
Access Blocked: Verification Process Not Completed
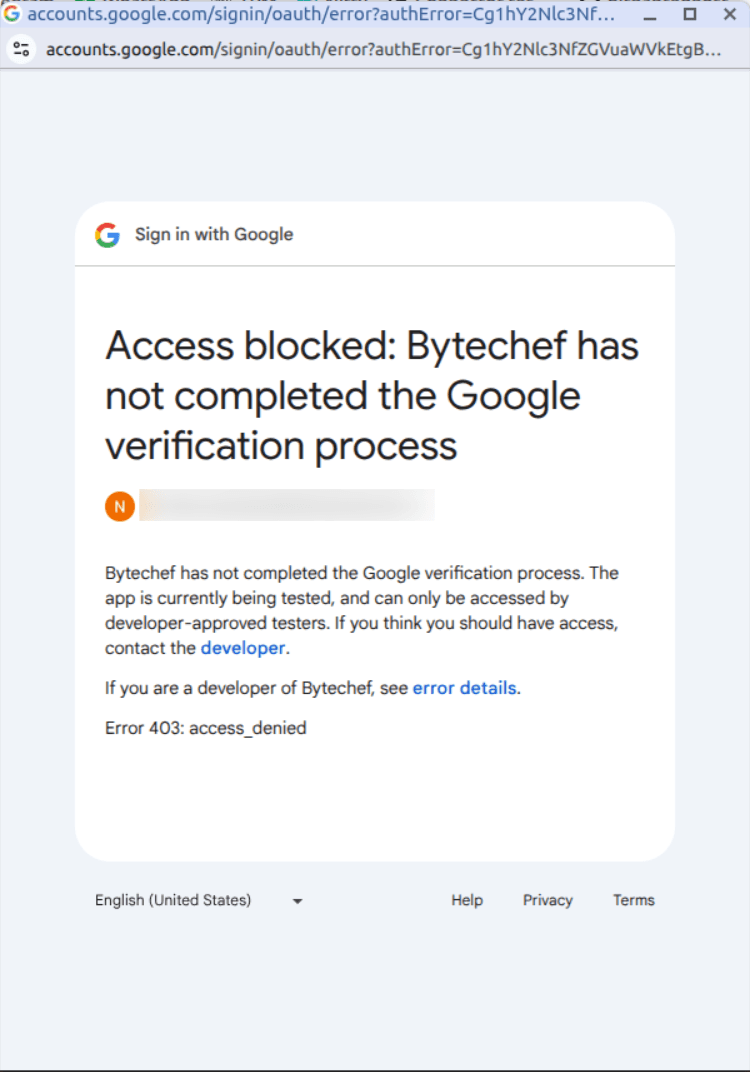
- In the Google Cloud Console, select your project.
- Go to the "APIs & Services".
- Click on "OAuth consent screen".
- Click on "Audience".
- Click on "Add users".
- Enter email of your test user.
- Click on "Save".
How is this guide?
Last updated on
GitLab
GitLab is a web-based DevOps lifecycle tool that provides a Git repository manager, CI/CD pipelines, issue tracking, and more in a single application.
Google BigQuery
Google BigQuery is the autonomous data to AI platform, automating the entire data life cycle, from ingestion to AI-driven insights, so you can go from data to AI to action faster.